Steel – How Hard Is It, Really?
Steel is practically a synonym for strength and it’s surprising how many different situations make use of it. You can have steely determination, steel yourself against misfortune, have a mind as sharp as a steel trap and have nerves of steel. We can say, quite definitively, that we recognise that steel can be made strong and hard.
The question is, however, with the number of different types of steel out there, which ones are suitable for your engineering project? Even under the term ‘steel’ there are a mind-boggling array of different specifications and characteristics, some of which are more designed and suitable to withstand particular conditions.
The question remains; you know what you need your steel to do but how do you go about quantifying whether it’s suitable and will withstand the conditions? Well, put quite simply, you test it and there are three very common tests to measure the hardness of various steels.
Firstly, there’s the Brinell Hardness Test. This is a simple test of deformation under pressure, where a hardened steel ball, usually one about 1cm across, is indented onto the surface of the test steel. After 15 seconds, the indentation made from the 500kgf, 1500kgf or 3000kgf load is then measured and a hardness value is calculated based on its diameter. The Brinell test is very useful, as it measures a sustained and applied pin point weight, giving reliable and accurate results. It’s less useful for tubular products that have thin walls or small scale diameters. It’s also not uncommon for the Brinell test to use a smaller, 5mm ball under a load of 750kgf.
The Vickers Diamond Hardness Test works in a similar way to the Brinell Test, but by placing a diamond pyramid onto the test surface and placing under a standard load for a specified time. This allows different grades of material to be tested, allowing a Vickers Number, which is calculated by dividing the load in kilograms by the area of the indentation left by the test in millimetres squared.
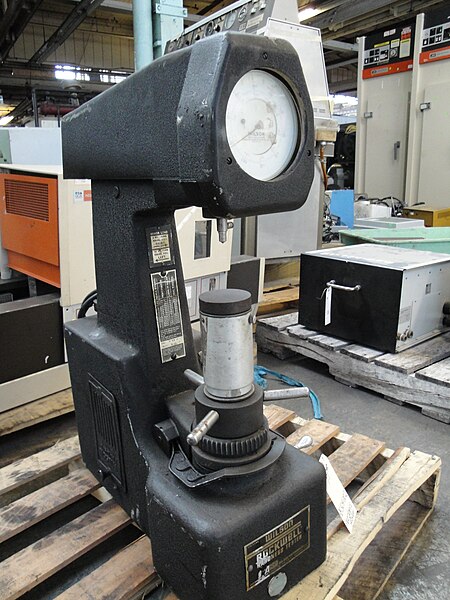
The Rockwell Hardness Test involves a dual test of the material, by placing a diamond cone or hardened steel ball under specific load of 10kgf. The depth of the indentation made under the ‘light’ load is taken and another load of 100 or 150kgf is applied. The difference in depth between the two tests is then measured and used to determine the Rockwell Number. The Rockwell test can also be applied as a ‘superficial’ test for thin materials, with the ‘light’ load as 3kgf and the ‘heavy’ load as 15, 30 or 45kgf.

